Guild Promotion and Community
Category
Guild Promotion and Community
- If you created a guild, you can increase the member by promoting the guild.
- If you are searching for a guild to join, you can apply to join the promoting guild.
1. Guild Promotion
- There are 2 ways to promote your guild.
[Guild Promotion - 1. Use Guild Promotion Board]

- Saviors can use the Guild Promotion Board (Alt + R) to search for the guilds and apply to join.
- You can open the Guild Promotion by pressing (Alt+ R) or by clicking on the icon ( ).
).
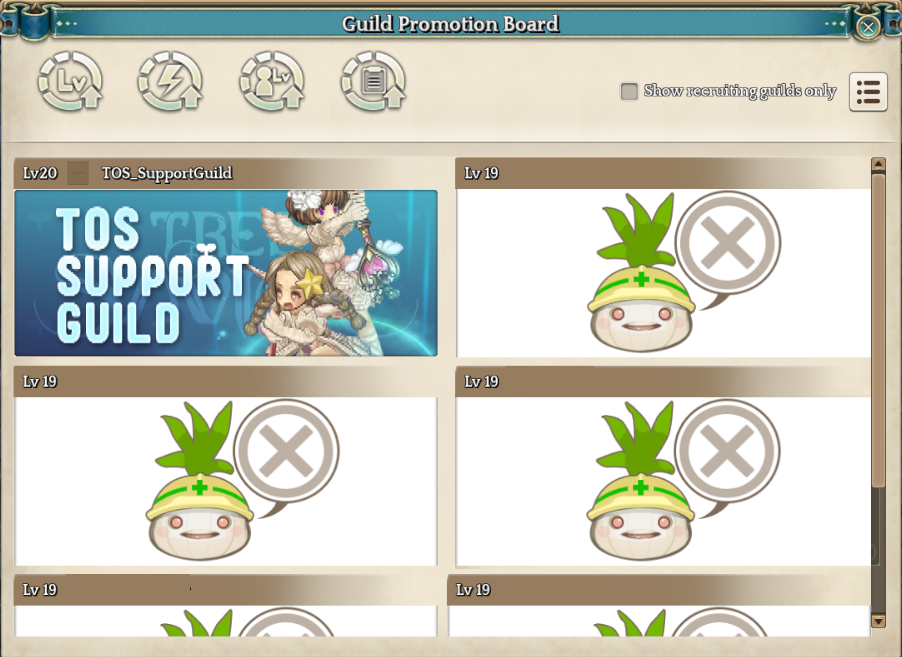
- You can see the list of guilds by Guild Level, Activity (Adventure Journal), Average Team Level, and Number of Applicants.
- If you wish to join the guild, open the Guild Info via Guild Promotion Board and Apply to join.
- Because you can apply to join via Guild Promotion, you don't need to meet the guild manager directly in-game.

- Guild master can upload the Guild Banner (512 x 200 png) and Cover Page (1024 x 768 ~ 3840 png) to upload it on the Guild Promotion Board.
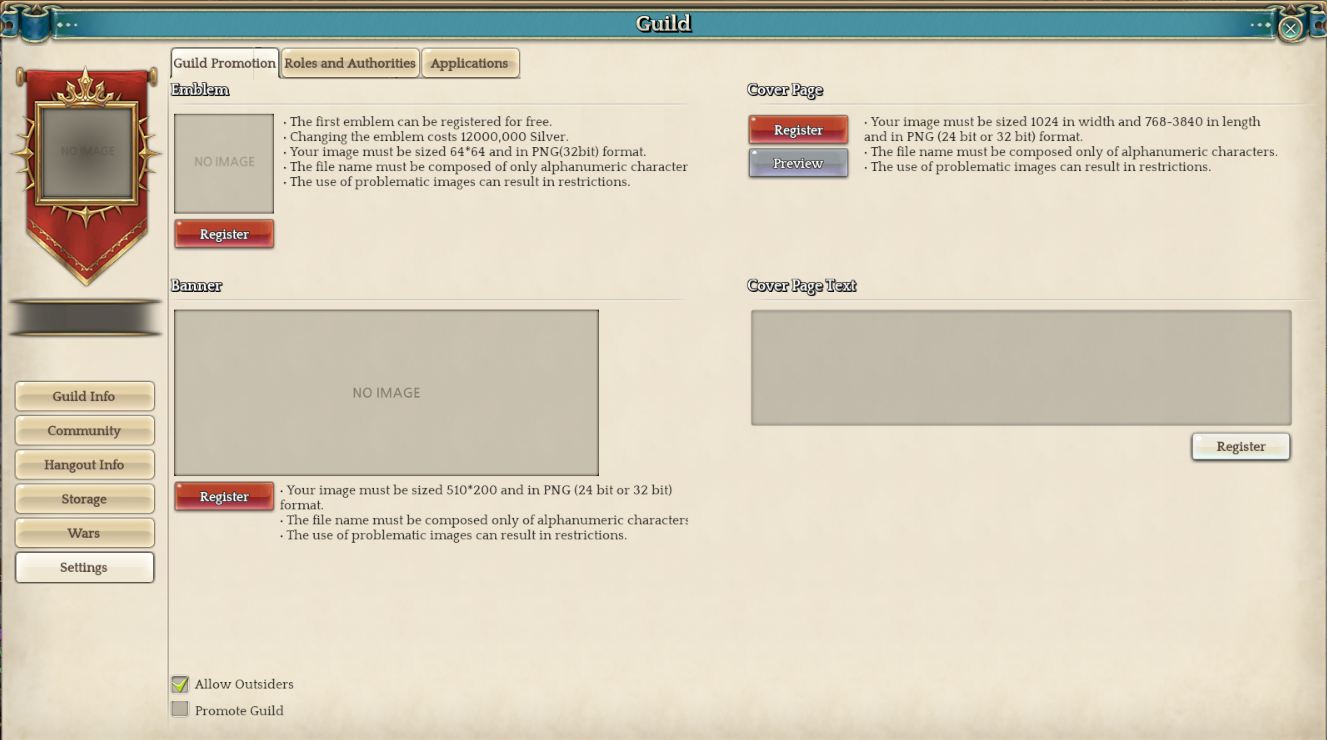
- Guild Master can edit info that will be exposed on the Guild Promotion Board to promote the guild.
- Guild Master can upload Emblem, Banner, and Cover Page or set whether to expose it to the Guild Promotion Board by checking the [Promote Guild].
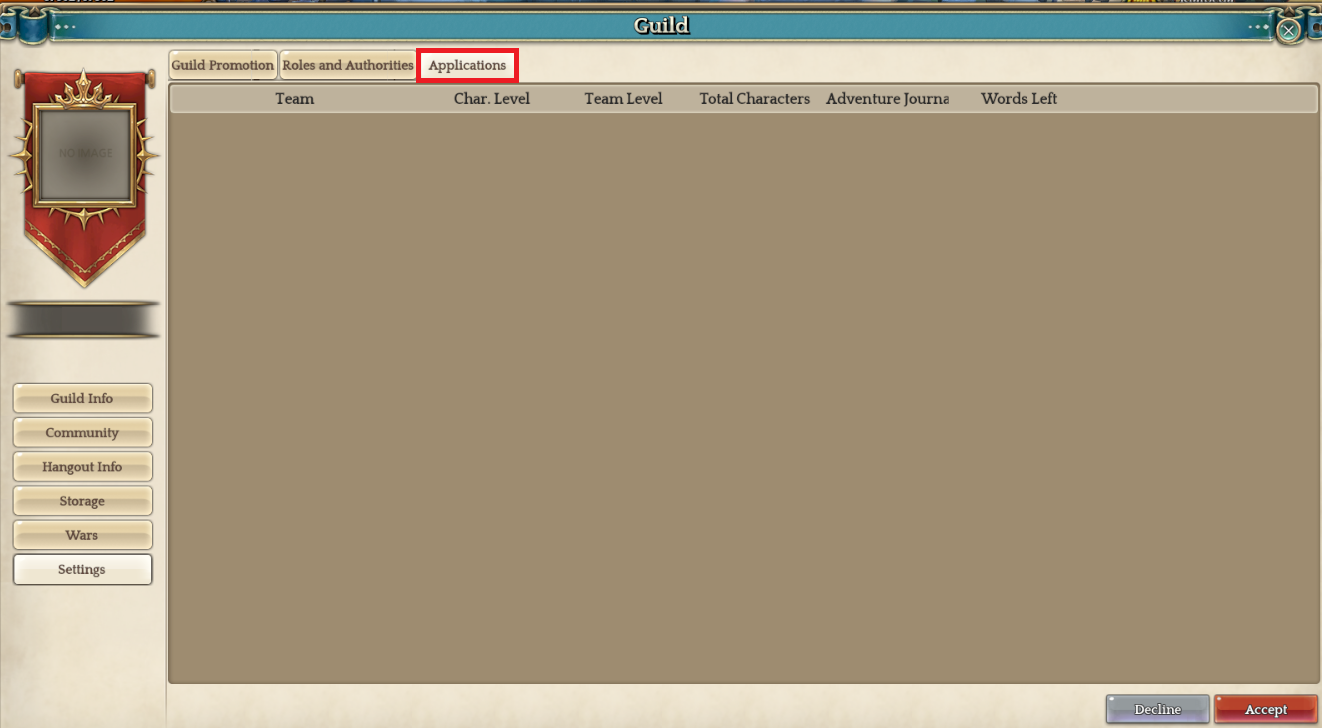
- Guild Manager can see the applicants and check the player's info to decide whether to accept or decline.
[Guild Promotion - 2. Shout and Consult]
- Observe the shout chats and if a chat regarding [Guild Recruit] appears, right-click on the savior's team name, click Whisper to send your will to join the guild.
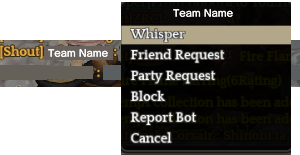
- You can join the guild by following the guild manager's instructions.
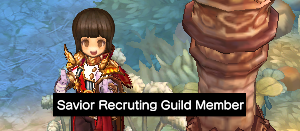
- Select a phrase and proceed with the guild recruitment with by Shout function.
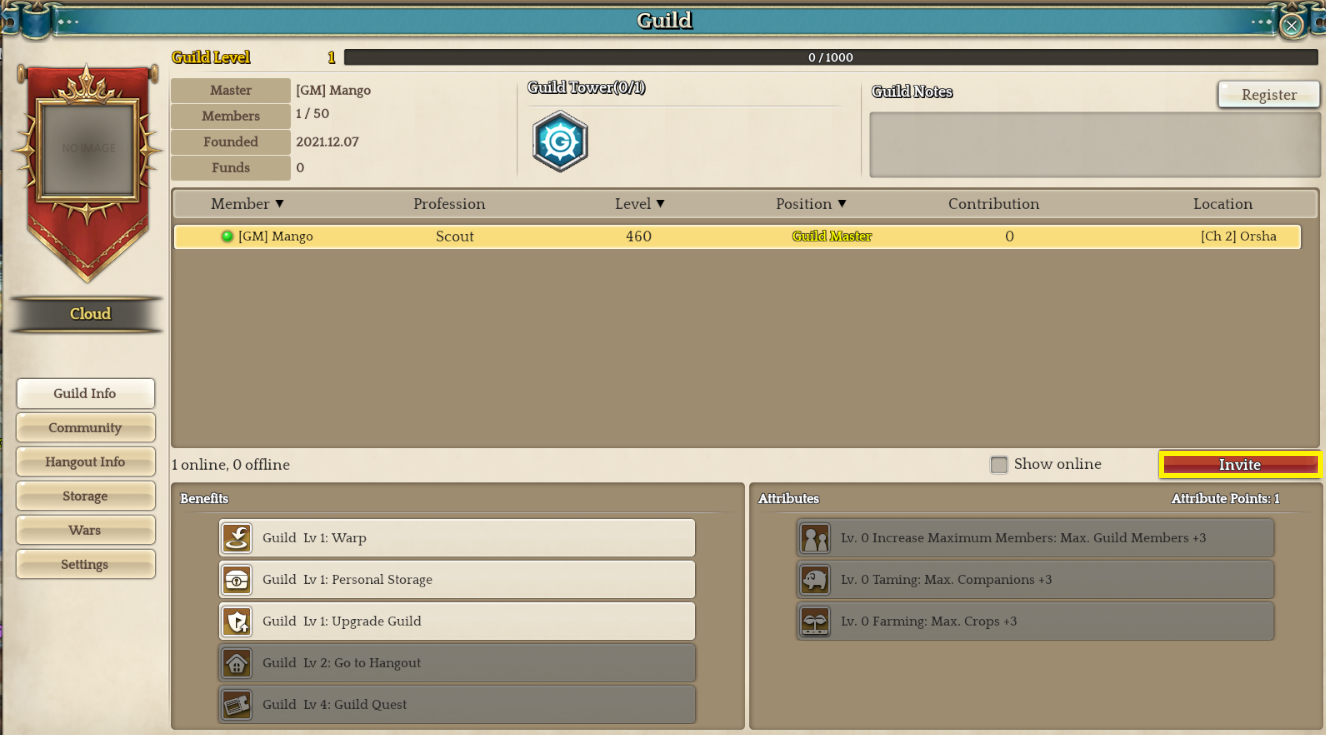
- After chatting with the applicant, right-click the character to invite them to a guild, or enter [/guildinvite TeamName] in the chat window to invite the savior to the guild.
- You can also invite by pressing [Invite] button in the Guild window (Alt + G).
2. Guild Emblem

- Only Guild Master can register the Guild Emblem.
- The first emblem can be registered for free.
- Changing the emblem costs 12,000,000 silver.
- You can change the Emblem one week after you register the emblem.
- The file name must be composed only of alphanumeric characters.
※ The use of problematic images can result in restrictions.
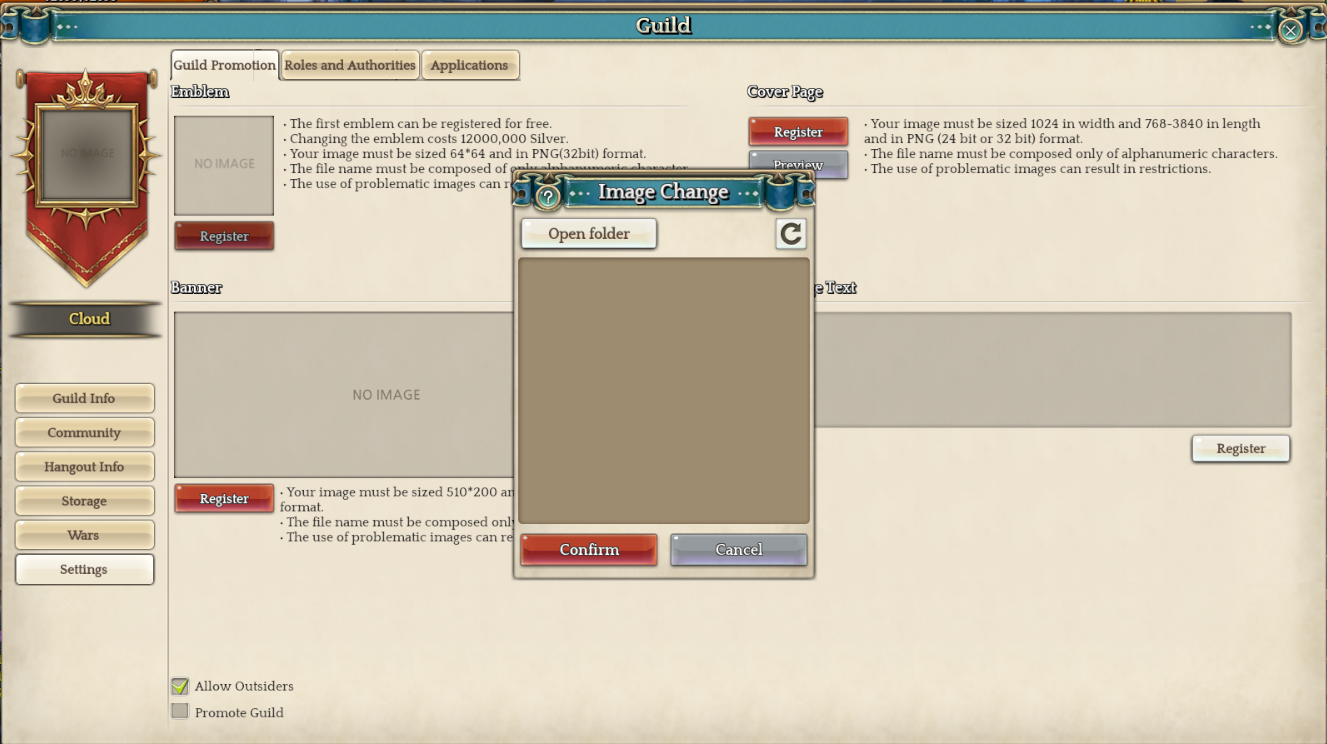
- In order to register Emblem, you need to upload an image file on
[My desktop]> [Local Disk (C:)] > [Program Files (x86)]> [Steam]> [Steamapps]> [Common]> [TreeOfSavior]> [release] > [UploadEmblem]
- You can open the Emplem file by clicking Guild (Alt+G)> Settings> Guild Promotion> Register> Open Folder.
- Your image size must be sized 64*64 PNG(32bit) format.

- Once the image is uploaded to the list, you can register the image by clicking [Confirm].
3. Join the Guild
- When you create or join a guild, every character in the team will be in the same guild.
- You can join the guild by searching the guild in the Guild Promotion (Alt + R) or by receiving an invitation from the guild manager.
4. Leave Guild
- You can leave the guild by right-clicking on your team name in the list of guild members.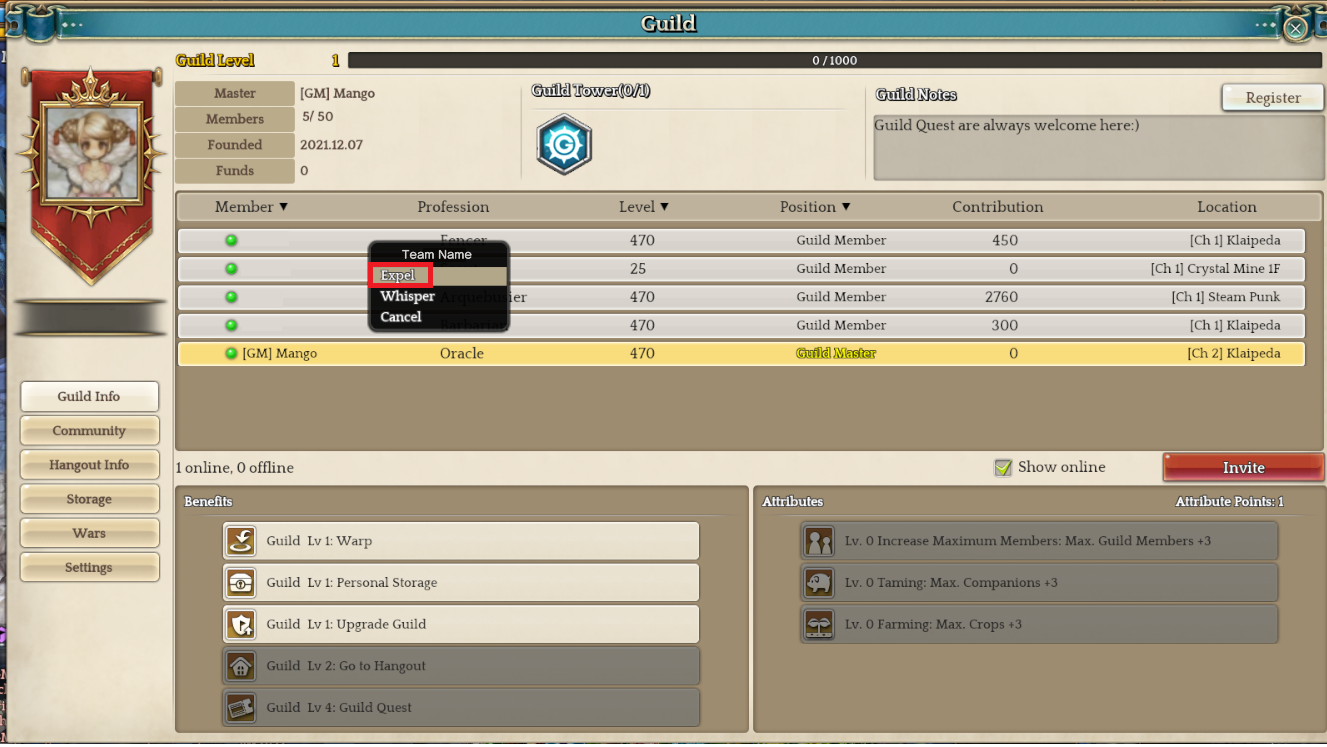
- Guild master can expel the guild member.
- The EXP increased by the expelled member remains but will be removed from the contribution list.
- When you leave the guild, you cannot use the guild contents for 7 days.
Guild Notes
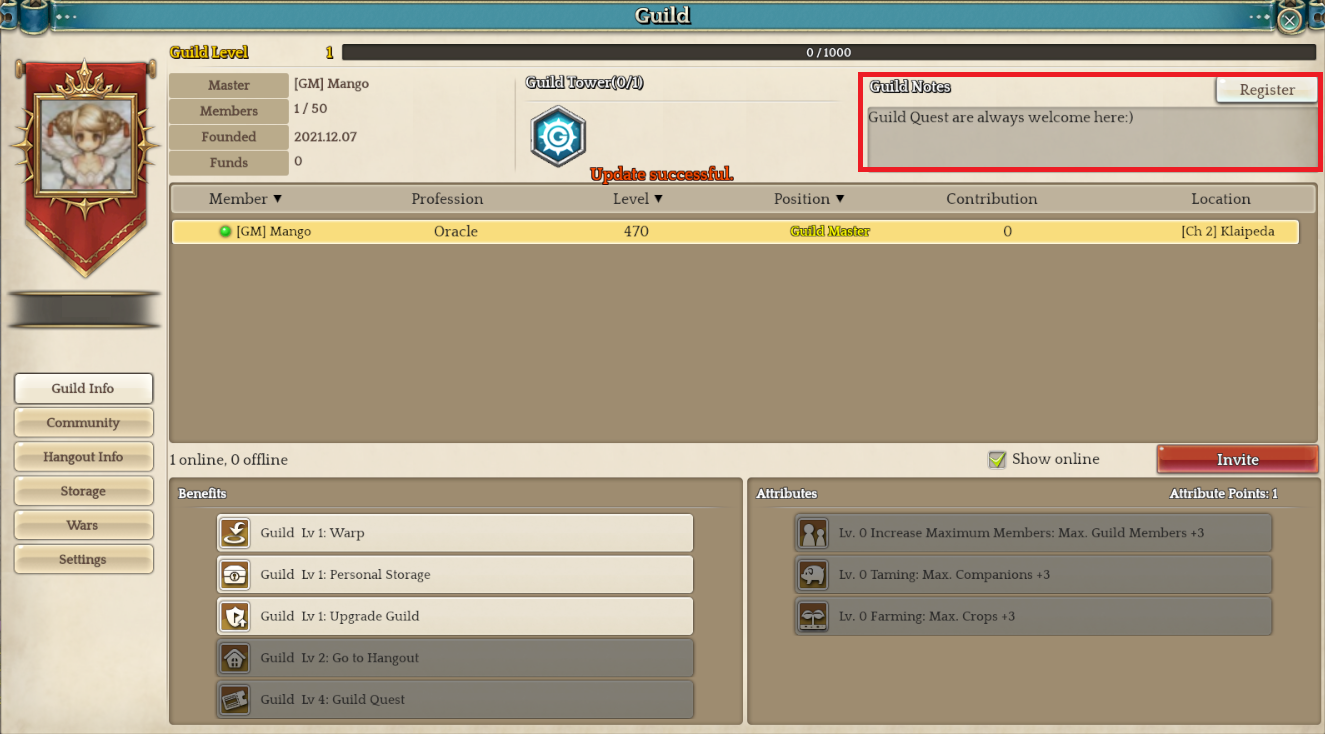
- You can register Guild Notice via Settings.
- Only authorized guild member can write the Guild Notice.
Guild Community
- Guild Community is managed as a channel type.
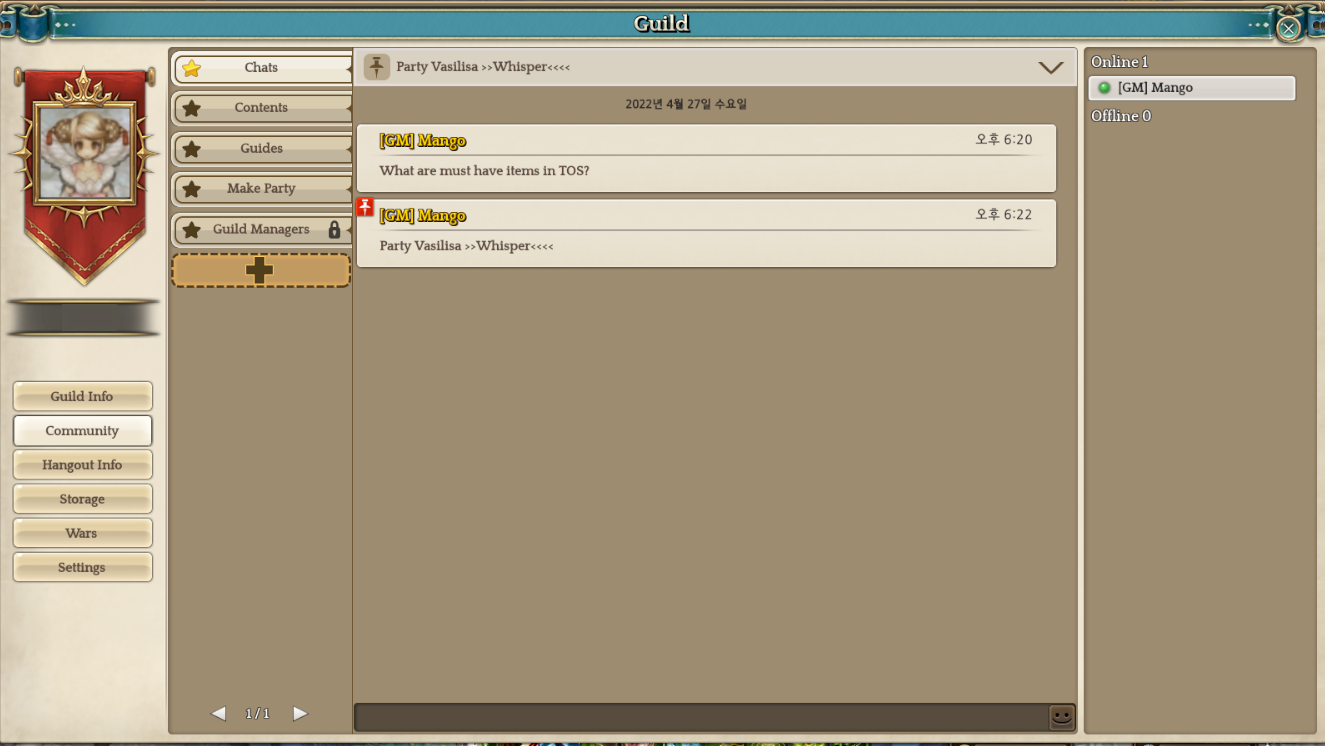
- Guild members with [Create Group Chat] authority can add Group Chats by clicking '+' button. (up to 30 per guild can be created)
- Guild members who want to enter the Group Chat can select the Group Chat to join the chat, and a lock mark will appear for a private Group Chat.
- You need to enter the password when entering the private Group Chat.
- Right-click on the chat to register as an announcement which will be fixed on the top. (up to 5)
- You need authority to register the notice, and you can register it only at the Group Chat you are in.
- You can see the Group Chat members and login status on the right side of the screen.
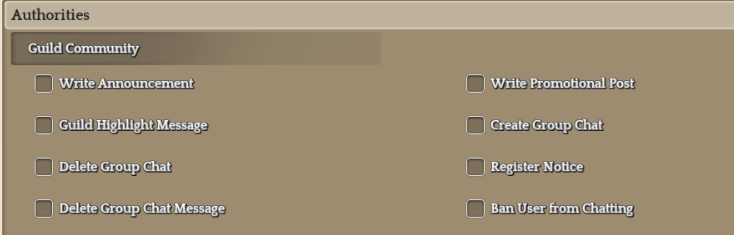
- Guild Master can apply community authorities.
- Delete Group Chat: Delete the Group Chats. Able to delete the private channels, but cannot enter one.
- Register Notice: Sending alarm to every guild member in the Group Chat. Only available in the Group Chat you are in.
- When you have the Community managing authority, you can use the following functions.
1) Delete the message in the Group Chat.
2) Ban user from chatting
3) Remove the Group Chat from the top
- For the Group Chats you are in, you can set the alarm option by right-clicking on the Group Chat.
Shared Storage
- Guild Storage will be unlocked once the following conditions are all met.
▶ Guild Level 8 or above
▶ Guild Quest 12 or more times
- 40 slots will be given, and 10 slots will increase when reaching Guild Level 10, 15, and 20.
- You can deposit/withdraw item by shared storage.
| Deposit | - [Deposit into Shared Guild Storage authority is required], and the trade grade must be stage 5 or above to deposit an item. |
| Withdrawal | - [Withdraw from Shared Guild Storage] authority is required. |
| Important | ※ You can deposit items that can be traded personally. ※ Able to Deposit/Withdrawal an item only when you are outside of combat. ※ Unable to use Shared Storage in Team Battle League and Guild Battle PVP areas. |